
Recently, I got an opportunity to get my hands on some edge hardware (Working for VirtZilla, it took 2+ years and an acquisition for me to say that!) and I decided to set it up at home.
I was one of the lucky few to get a VeloCloud Edge 510 device. This is mostly meant for branch offices, but this little nifty device can do many things. Before we get into it, lets take a quick look at VeloCloud.
VMware acquired VeloCloud in December 2017. VeloCloud is a cloud networking services company that simplifies branch WAN networking. This acquisition is part of VMware’s overall SDDC strategy and continued push into networking.
The main value proposition for VeloCloud is below:
- Improves business up time by making internet reliable and independent of expensive and dedicated MPLS circuits.
- Dynamic Multi-Path Optimization to leverage multiple internet connections- including 4G LTE to optimize utilization as well as route around failures.
- Assured application performance by prioritizing time sensitive applications such as voice and video.
- Allows higher priority to SaaS applications or cloud based applications by use of VeloCloud Gateways which can reside in public cloud providers such as AWS.
One unique feature that VeloCloud can deliver is the ability to switch uplinks upon failure without dropping voice calls. This is made possible by patented IP such as the aforementioned DMPO.
DMPO also reorders UDP based flows such as voice and video. DMPO can also work around a lossy network and improve performance. This is done by duplicating packets when loss is detected, in order to keep TCP sliding windows size at maximum.
Here is an example of what that could mean for a file transfer session:
Now that we covered what the VeloCloud SD-WAN solution does, lets take a look at how easy it was to set it up.
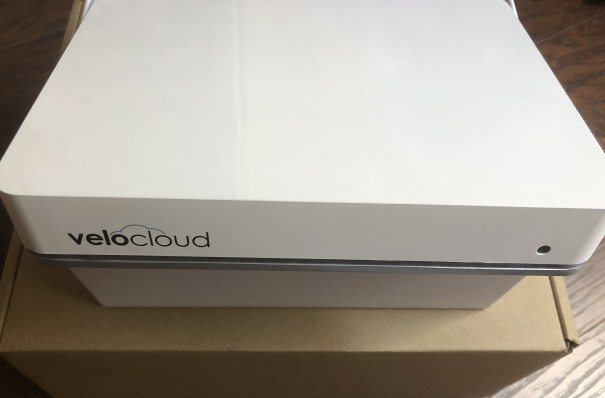
I received this device in the mail and opened it up – I was pleasantly surprised to see the attention to detail to packaging. Here are some photos from what it looks like:
I plugged in the device and followed the instructions to plug in the the uplink port from my Wireless router into GE3. I had to login to the temporary wifi SSID and change a few things to ensure there wasnt any IP overlap with my existing network. Soon after, I was able to get an IP address. As part of this process, I was already added to a VCO- VeloCloud Orchestrator. As an admin setting up a branch office, you would set up a new edge from the VCO, by using a pre-created profile.

Once the new edge was provisioned, I was able to generate an email with the activation key and a softlink to activate the physical edge. The activation itself is uneventful from that point on.

Once the device is activated, you can control and manage the device from the VCO. From the VCO, you can change the interface configuration, set up primary and back up uplinks, or set up multiple active-active uplinks. For my setup, since I did not have multiple uplink connections, I used the USB port to set up a 4G LTE uplink as a second active uplink. I planned to do some failover tests at a later point.
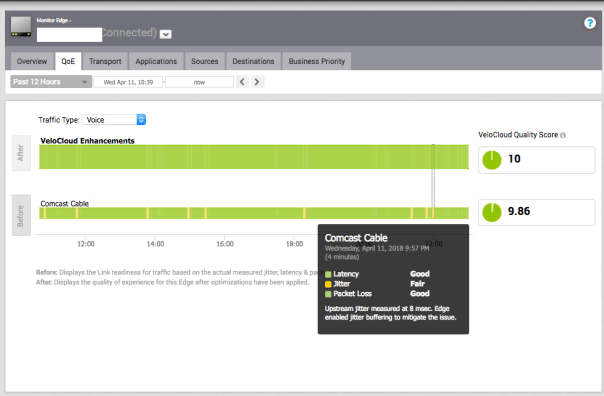
Here are some screenshots of applications that I am running through my VeloCloud Edge and some quality scores as well. To make things more interesting, I started some Netflix and YouTube in the background. With in 3 minutes those applications popped up as well.

Another really useful tool is where the edge is able to display the quality of the uplink. The VeloCloud Enhancements bar includes remediation by DMPO.
In summary, the VeloCloud Edge was very easy to setup and administer. In the second part of this blog, we will cover architecture and a link failure demo.
Leave your comments below.
PS: Hat tip to George Shih (VeloCloud SE) or helping me with this blog.

Leave a comment